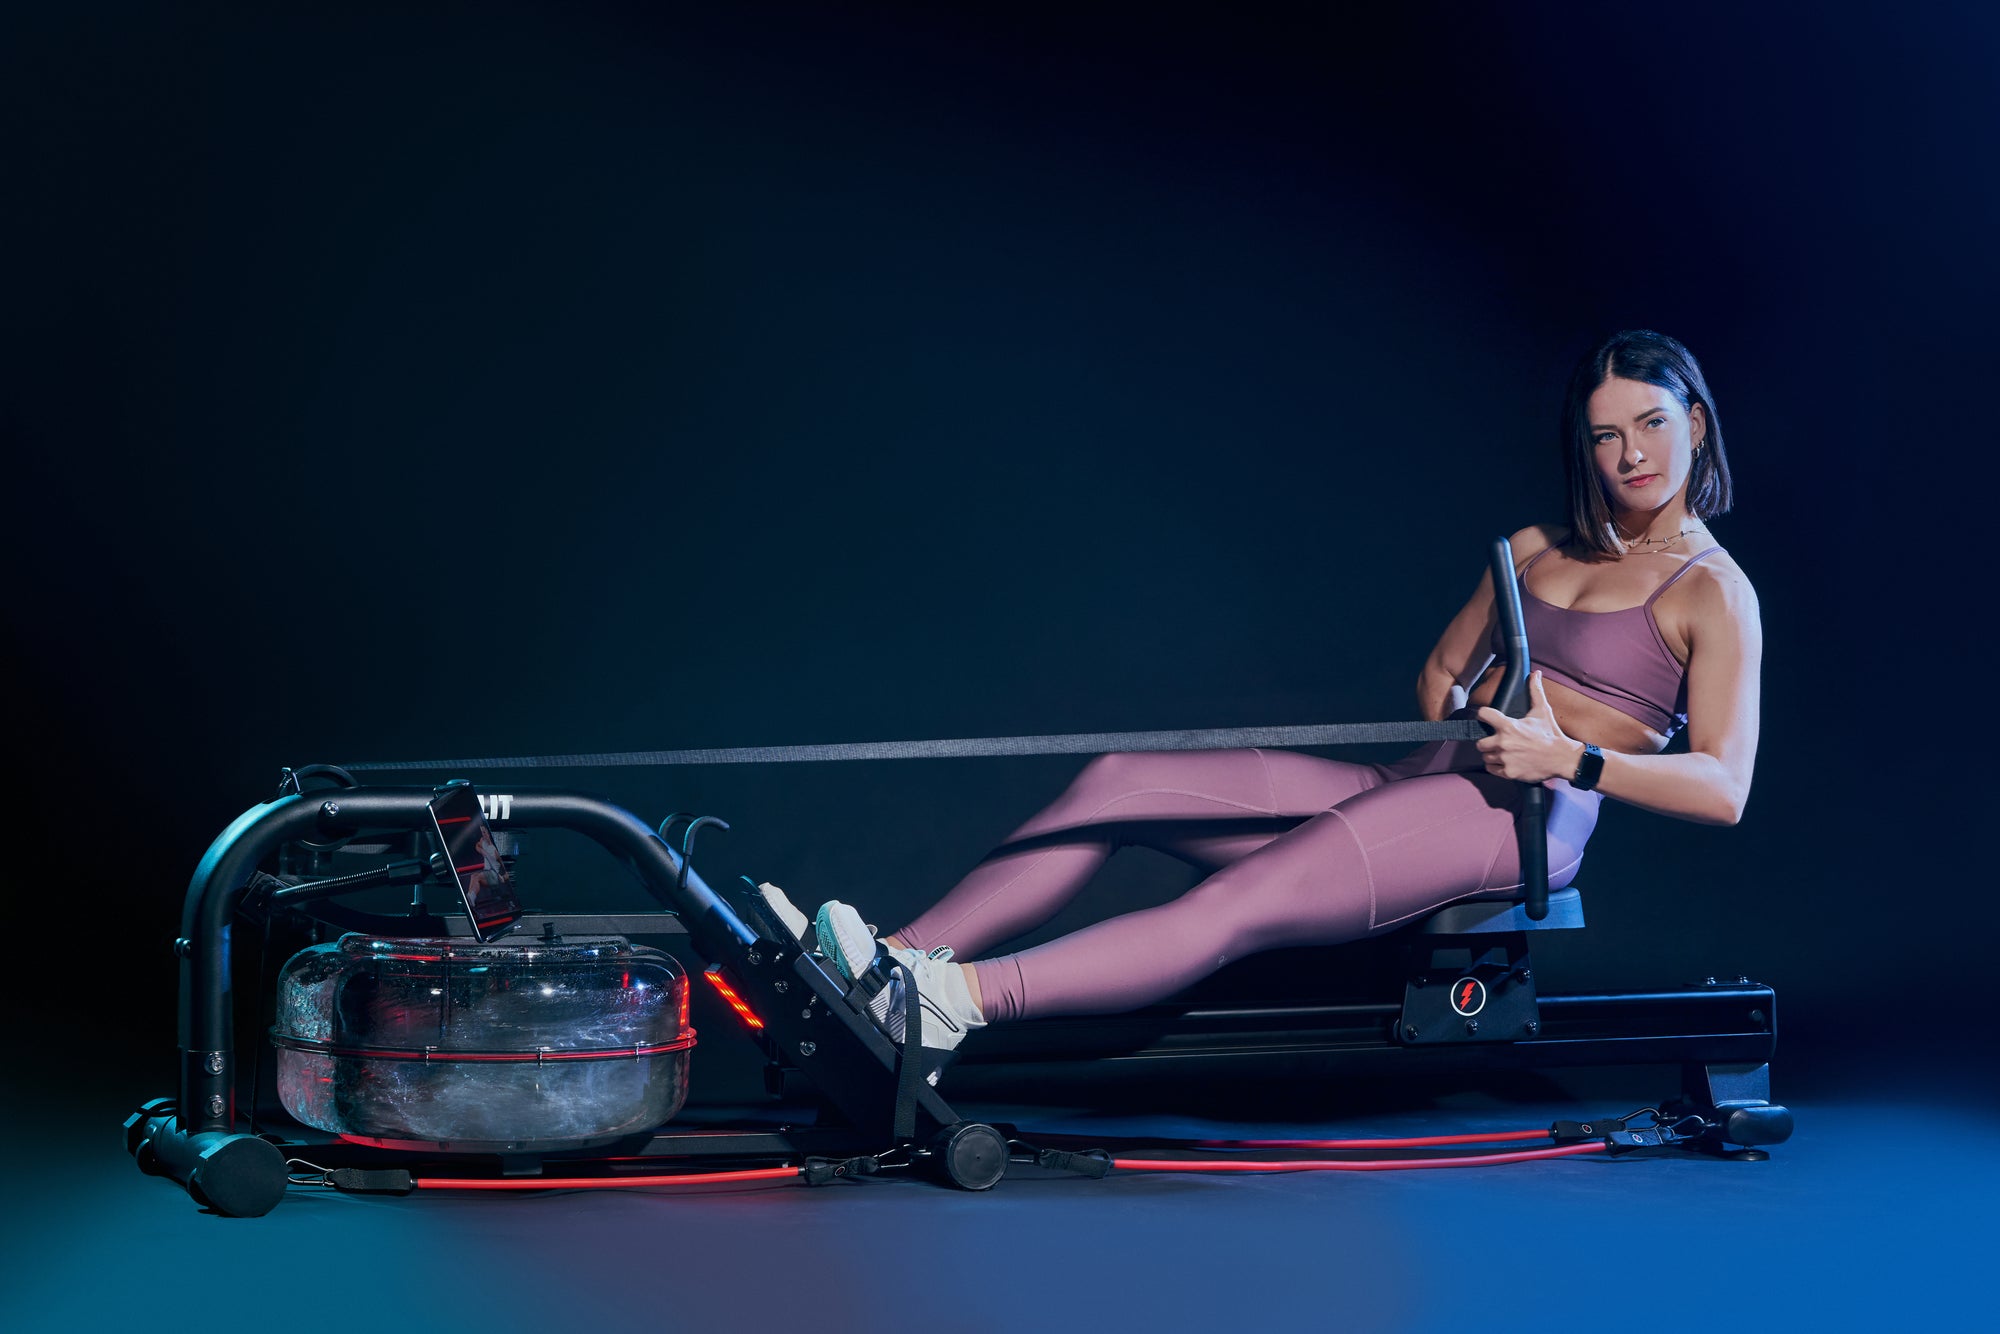
Rowing is all the rage — and that’s no exception within the LIT community.
This low-impact, cardio exercise can work the majority of your muscles without putting undue stress on joints or increasing your risk of injury.
So in the midst of an evolving fitness landscape, it’s no surprise there is an increasing demand for at-home rowing options — particularly from individuals looking for an alternative to the standard, total-body cardio burns often garnered through running or spinning.
And while we certainly subscribe to the motto, ‘different strokes for different folks,’ we also know that regardless of fitness background and experience, everyone is looking for proper rowing form, basic guidelines, and a better understanding of how to most effectively row. So lets get started with the correct techniques to employ while using a rowing machine.
PROPER ROWING MACHINE FORM & TECHNIQUE FOR BEGINNERS
The classic rowing stroke contains four phases — the catch, drive, finish, and release.STEP 1: CATCH
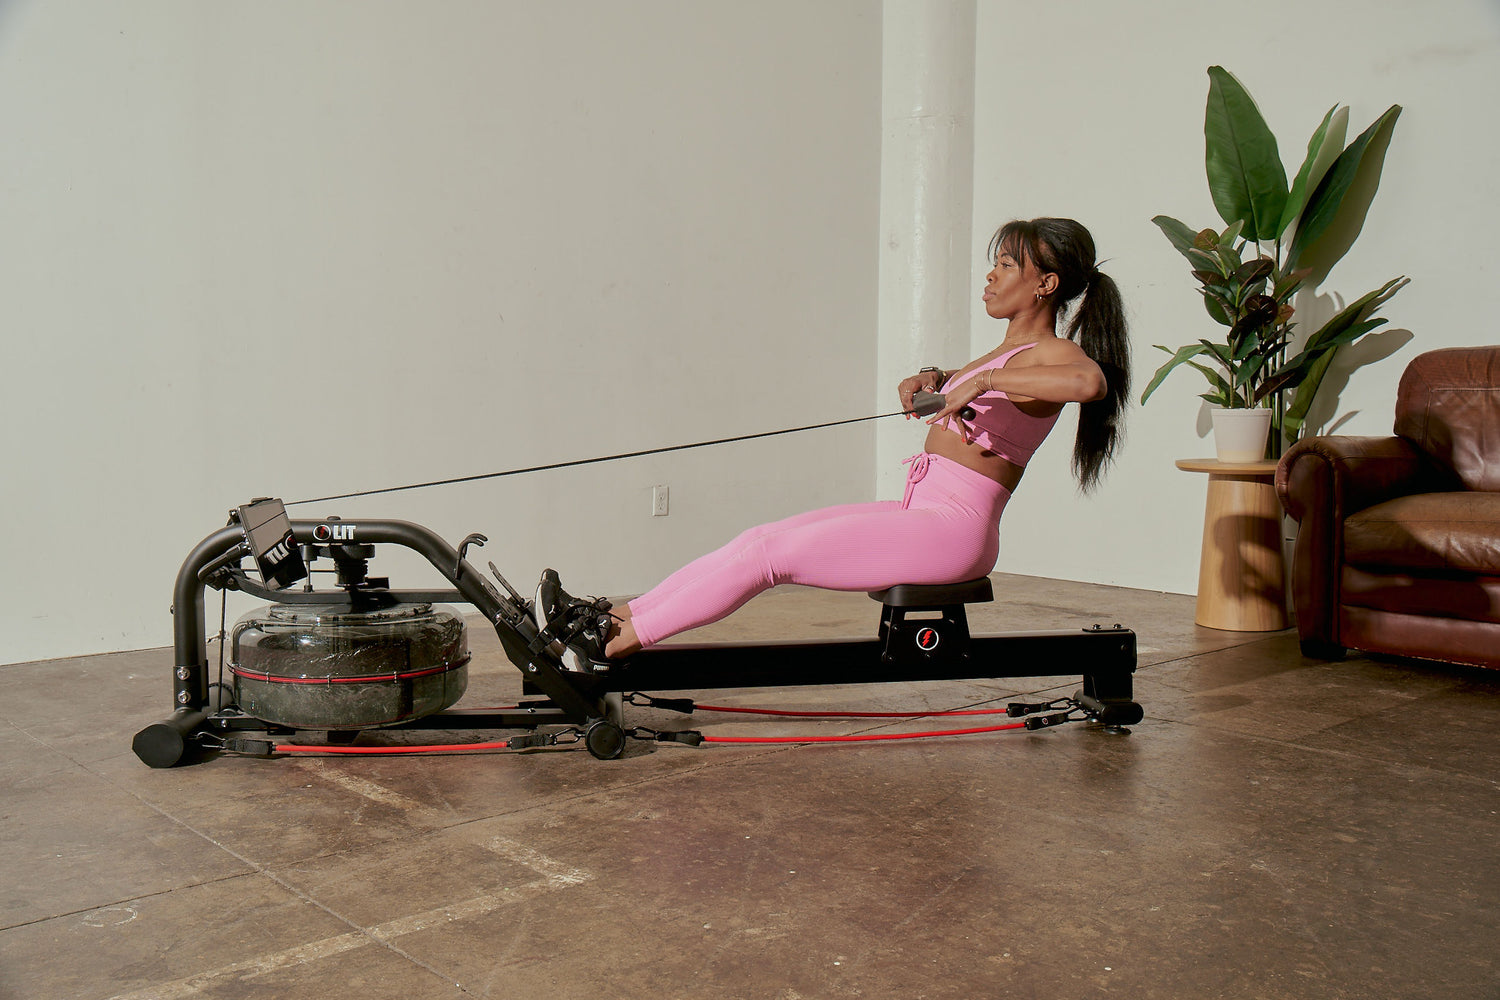
During a catch, the rower is positioned upright at a 90-degree angle for the initiation of the stroke. Here, the rower sits in the first position and is ready to begin the drive. This is also where the rower grips the arms of the handle straight raised in front of them.

STEP 2: DRIVE
For the drive, the rower focuses on pulling in. While gripping the handles, the straight arm raise should protrude over the feet and the pull is back toward the core.

STEP 3: FINISH
At the finish, rowers should feel their legs near fully extended, but not locked — and with the handle pulled inward to the core.

STEP 4: RECOVER
The release is the inverse of the catch, drive, and finish. Think of what is necessary to return the handle to the machine and maintain the posture and form achieved during the substance of the row. After pulling the handle inward, the rower will release it forward in a straight arm raise, allowing the knees to seamlessly bend and slide toward the drum.

POWER OF THREES: THE SIGNATURE LIT ROWING TECHNIQUE AND PHILOSOPHY
With a traditional rowing machine, rowers are doing this four-part series in and out, over and over to work approximately 86% of the body’s muscles with each stroke. Not bad, right?
Admittedly, that’s a pretty thorough, near-total body exercise. But what if it was possible for a rowing machine to empower rowers to work 100% of their muscles?
While the anatomy of that total body stroke on a standard rower or water rower is the four-part ‘catch, drive, finish and recover,’ at LIT we have not only shifted from the traditional row to offering more innovative variations that work out 100% of your muscles, but we are also encouraging our members to simplify the basics even further.
ORDER, POWER, AND TIMING
If you’ve taken a LIT rowing class, by now, you know our instructors begin each program by emphasizing order, power, and timing. In short, this three-pronged stroke allows people to maintain strong form and technique by consistently identifying what body part they are prioritizing with each row and why that matters.
Instead of the catch, we focus on order, which is to say, we ask rowers to focus on their posture — to first and foremost ensure they don’t lock their knees or lean too far back.
Instead of the drive and finish, we focus on power and how you achieve it. Are you coming in far enough? This is a question that extends across the entire spectrum of the stroke but it drastically impacts the force with which you can build muscle.
And instead of just naming it the release, we motivate our community members by reminding them that ‘timing is everything.’ Again, we are talking about a three-split timing. One second in. Two seconds on the return. By focusing on the precise duration of the release instead of the mere act of releasing, we are able to help rowers hold steady on their form and follow-through, and ultimately complete a more effective workout.
LEGS, CORE, ARMS
This is especially true when it comes to applying LIT’s signature rowing variations — which are also broken down into three pillars: LEGS, CORE, ARMS.
By doing your workout with these trios at top of your mind, you are not only building lean muscle, but you are doing so with a drastically reduced risk of injury.
LESS MISSTEPS MEAN LESS INJURY: WHY THE LIT ROWING EXPERIENCE IS DIFFERENT
The standard rower or water rower offers one level of resistance and one type of workout — cardio — which is to say, it offers one type of experience.
But the LIT Strength Machine’s dual tank drum, with LIT LEVELS of water resistance from 10-40 lbs, offers incremental physical challenges for beginning, intermediate, and advanced rowers to add further cardio and strength training to each stroke.
Additionally, with a standard rower or water rower, there is only resistance in one motion, whereas with the LIT Strength Machine, you have consistent resistance throughout the entire movement.
While a standard rower is known for its narrow, generic footplate, the LIT Strength Machine includes an extended horizontal footplate to balance the split between your glutes, hamstring, and quads. This reduces the risk of injury to your hip flexors.
This week, try one of our INTRO TO rowing classes.
We also recently answered some of BOLTCULT’s most pressing questions:
How long should I row for a good workout?
What time spent meets what goals?
Can I lose weight with a rower?
Can I build muscle with a rower?
How often should I use a rowing machine?