Known for its unparalled effectiveness and efficiency, Low Impact Training delivers results without injuries and in a timeframe that suits any schedule.
Even our delivery and assembly process lives up to the brand’s reputation for streamlining every portion of your experience.
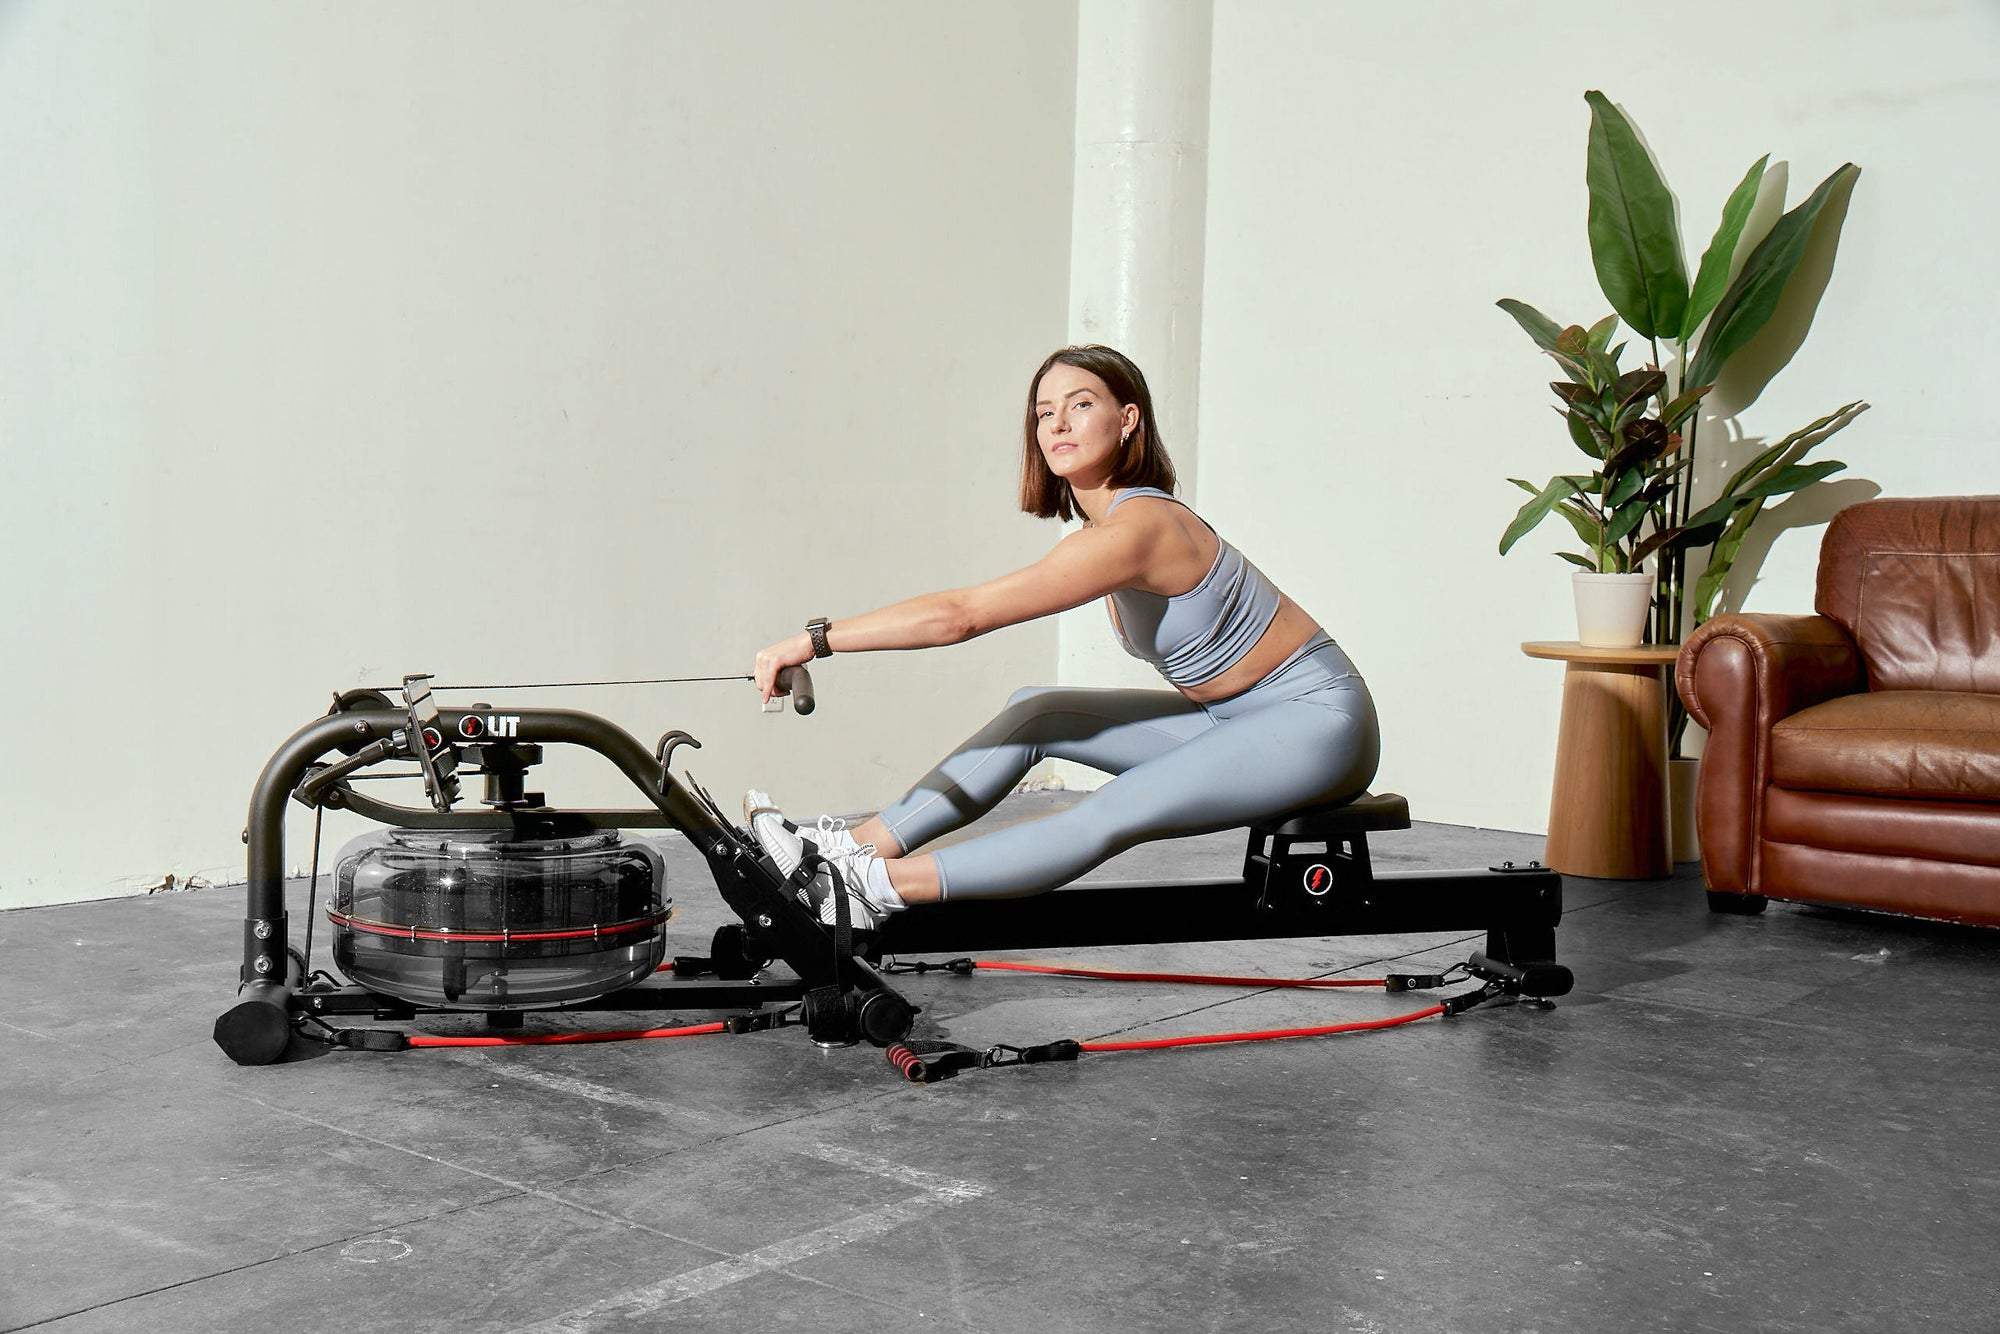
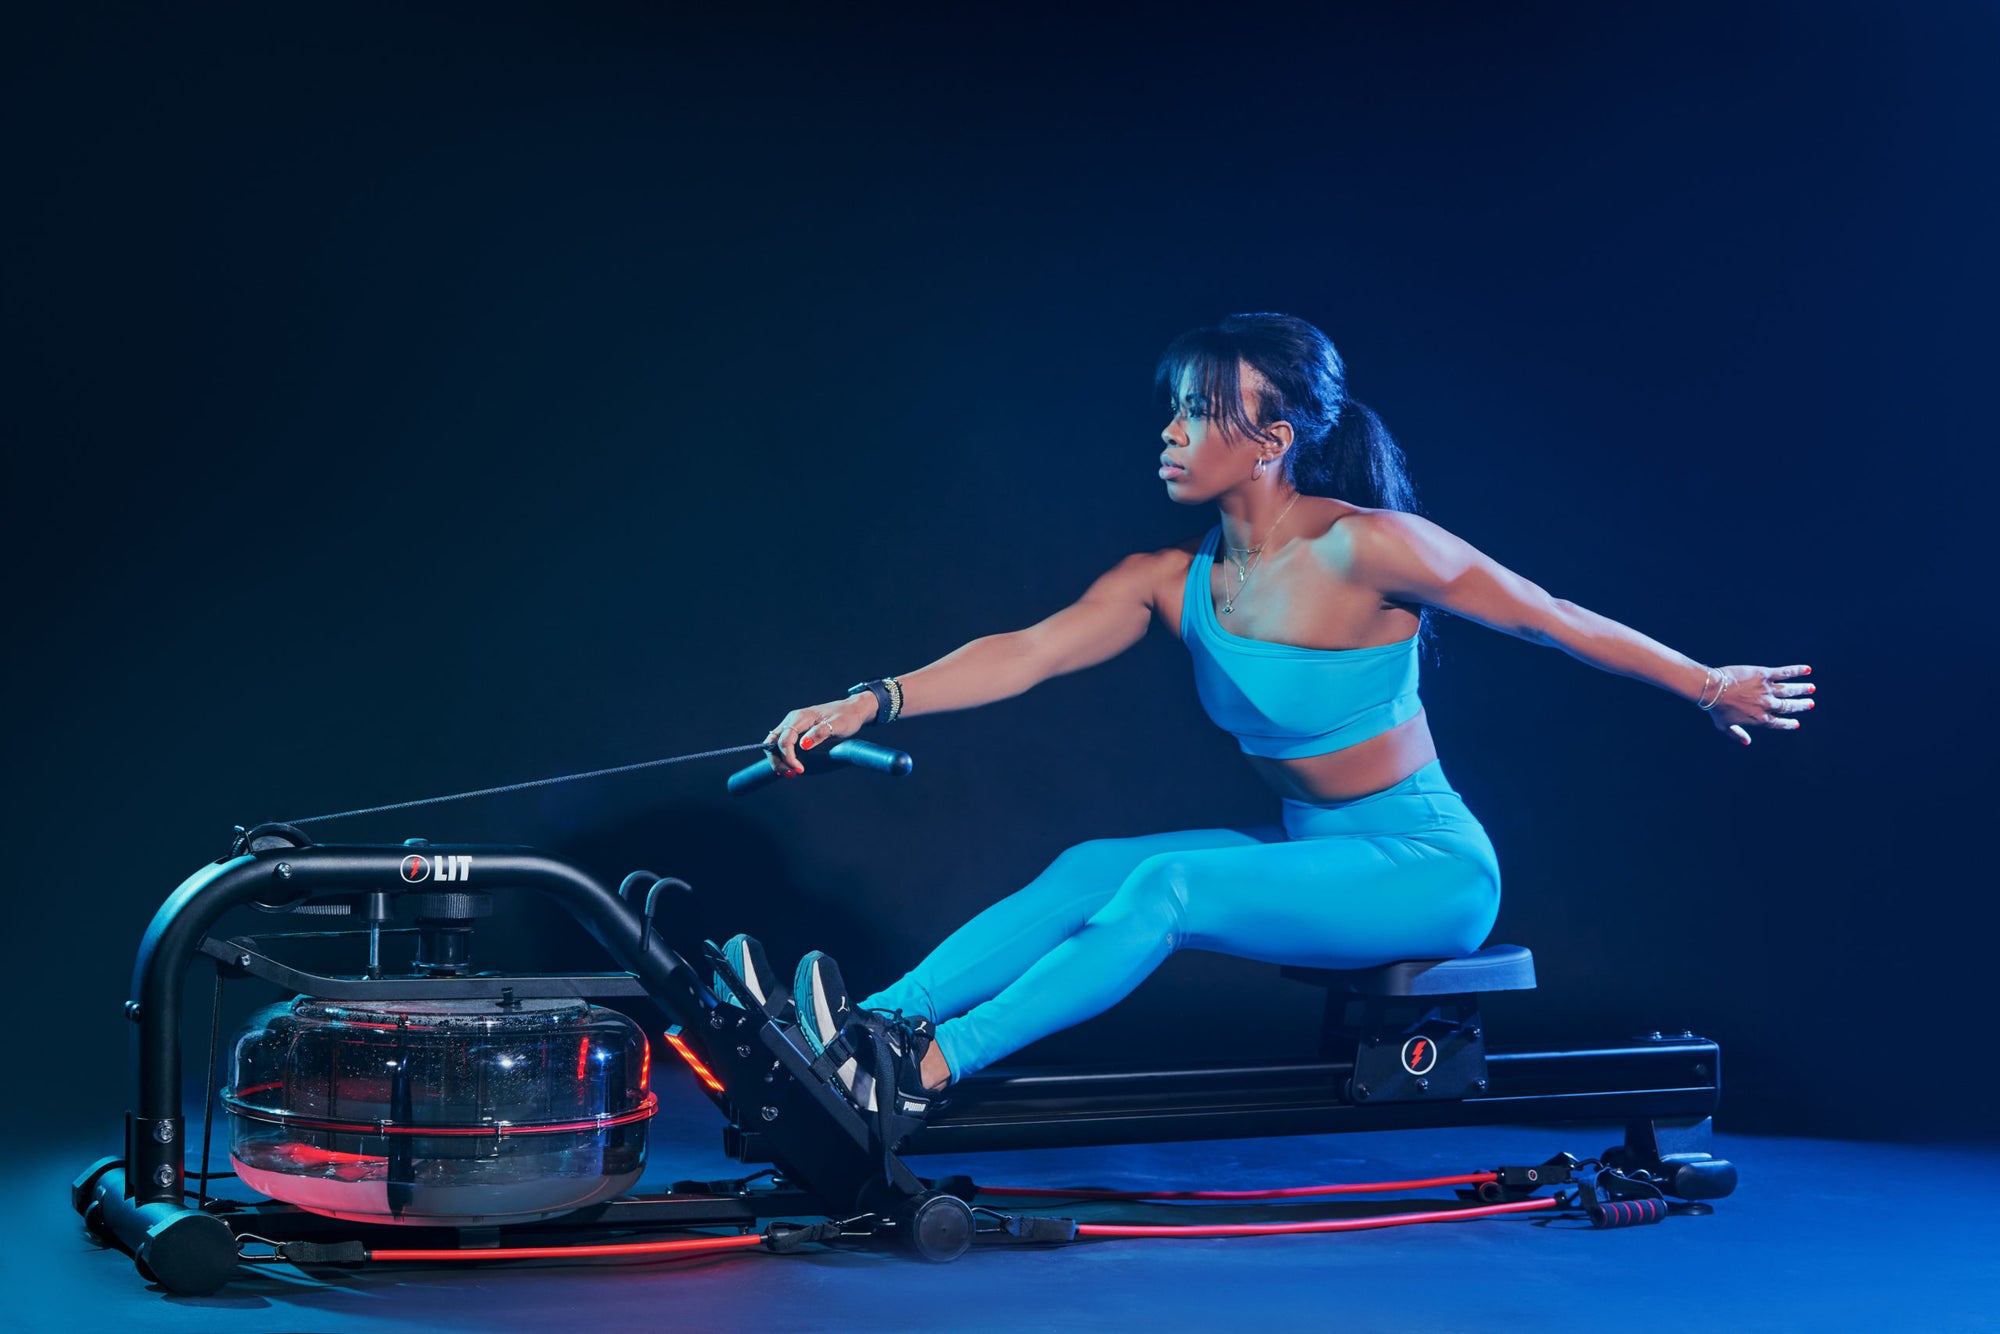
Follow these simple steps to assembling your LIT Strength Machine — the world’s first all-in-one rower, reformer, and strength trainer — and you’ll be getting LIT in 10 minutes or less!
WHAT TO EXPECT WITH THE DELIVERY OF YOUR LIT STRENGTH MACHINE
Once assembled, the LIT Strength Machine functions with a minimal footprint of 7ft x 1.75ft x 1.6ft. When not in use, the machine can be stored vertically, occupying only a compact 2ft x 2ft footprint.

But first, you can expect two boxes to complete your delivery.
Package one contains the mainframe of the machine and the dual tank water drum. Also inside of this box are the seat, rear legs, and toolkit.
Package two contains your rail.
And if you ordered additional accessories — not to worry!! Those arriving in their own packaging and will be clearly marked for you to seamlessly add on to your machine as needed.
STEP ONE: CREATE YOUR ASSEMBLY SPACE

Where is easiest for you to assemble your LIT Strength Machine? Choose a spot that allows you enough room to construct your machine with little to no obstructions or impediments.
If possible, give yourself plenty of room to properly organize everything. Particularly important is ensuring you are able to layout all the tools needed for assembly.
Your rail should be in the horizontal position it will be used in for class. Next to the rail, you should place your hardware kit, resistance bands and clips, and water pump.
STEP TWO: POSITION YOUR RAIL FOR INSTALL
Make sure your rail is positioned correctly with the phrase “TO ADJUST SEE MANUAL” facing up.
First, identify two of the screws for placement through the rail. When ready, position the rear leg directly underneath the rail — connecting both the rear legs and the rail itself. Make sure your anchor point attachments are pointing to the inside of the rail.
Grab two washers and put them over the two screws, preparing them for installation. Take your covering system and place that on top of where the rail and the rear legs are aligned. Once your covering is positioned on the rail, you’re going to insert the back screw and washer first (closest to the end of the rail). Remember to ensure that the washer and screw are flush with the covering.
Take your M61 allen wrench and begin tightening. Do not finish tightening until you put in the second screw and washer and begin tightening there. Tighten both equally.
STEP THREE: INSERT RAIL TO FRAME
For the next step, you will need the M10 screw and bolt, and the M8 allen wrench. NOTE: This is the only screw that is compatible with this allen wrench.
You're going to line up all four screws and then position your M10 screw straight through the frame of the machine. Take your washer, place it onto your screw and then tighten the bolt until it's ready for installation.
Then take your M8 allen wrench, hold one side of the M10 screw and align the other one for tightening down.
Once tightened, it's time to take your dampener screw and first ensure the biggest side is face up. Place it directly underneath and line it up with the hole in the rail by “TO ADJUST SEE MANUAL” label. Once that is aligned, take the longest M10 screw that is compatible with the M6 allen wrench. Insert directly down and start the install process into the frame. Make sure not to over-tighten it so that you can maintain a slight lift in the frame.
STEP FOUR: TAKE A SEAT!

Position the seat onto the rail and make sure that the leg imprints are positioned inward towards the drum.
Take your two rubber caps and screw them in onto both sides of the rail near the back. Then you’ll take the large rubber cap covering and insert that into the back of the rail itself.
STEP FIVE: CLIP IN THE BANDS

For resistance bands, you have both long and short sets. Short sets will clip in from the front anchor points that bookend the water drum.
Long sets clip in between the anchor points that bookend the footplate and rear of the rail.
STEP SIX: FILL THE DRUM WITH WATER

Your last and final step is going to be filling your machine up with water.
When filling up, one end of the tube goes into the machine and one goes into a bucket or other source of water.
IMPORTANT: Place your LIT LEVEL on LEVEL 4 before you start filling up the machine. Then make sure you fill the water only to the calibration line marked on the side of the drum.

Every machine comes with four water treatment tablets. You will insert one directly after you fill-up the machine. No maintenance on the water is required. Just place a new tablet in the drum once a year.
Congratulations on building your LIT Strength Machine!
BONUS!
Don’t forget that even our storage and portability features prioritize injury prevention.
The machine weighs 70lbs without water and 89lbs once water is at the calibration line. The wheels make the machine easy to stand upright for seamless vertical storage without any strain on your body!
You can also checkout this video and learn to build your LIT Strength Machine in less than 5 minutes!
OTHER VIDEOS:
Check out how to make the most of your machine with our highlights of the LIT Strength Machine’s features and accessories.
Learn how to mount your tablet attachment for the LIT Strength Machine.
Get a six-minute one-stop-shop tutorial of the LIT Strength Machine from LIT Founder Justin Norris.


